Well, I've decided it's finally time to bite the bullet and post a tutorial! So, I'm starting simple! Feel free to offer constructive feedback for next time! I'm starting with a very simple bag I designed for some young girls that came to my house and wanted to learn to sew! This is a great beginners project but of course anyone can make it! It's a very handy bag and my daughter (10) uses hers all the time! Enjoy...!
Materials:
* 40cm x 115cm drill or similar heavy-weight material ( this is your main colour for outside and inside of your bag) (corduroy, velvet, upholstery fabric etc)
* 50cm x 115cm denim or similar heavy-weight material in contrast colour (this is your outside, pockets and handle colour) or 1metre fabric if you don't want a join in your handles
* thread to match
Cut 3 pieces of your main fabric 13" across and 15" high
Cut 1 piece of your denim 13" across and 15" high
Overlock one side of front to contrast and set aside
Cut 2 denim pocket patches 5" across and 7 1/2" high
Overlock or zig-zag edges of pockets
Turn top of pocket over approx 1" and sew down sides approx 1/4" in (just on inside of overlocked edge)
Turn top right side and press, fold up corners into triangles, press seams using overlocked edge as a guide
Sew top of pocket to seal in edges, pin pocket to front of bag, approximately 1" in from sewn join, sew down close to side and bottom edges
Make 2nd pocket as above (omitting corners if desired) and sew to middle (or as desired) or one inner bag piece
Sew 2nd side of front pieces together to make a tube, then turn until pocket is approximately centred on front and sew bottom seam as shown
Place both inside pieces right sides facing and overlock down side, along bottom, up second side, turn pieces right side out and check you're satisfied. Have a little break if you need one!
Cut 2 straps 4" x 36" (or join two pieces together to make roughly that size, preferably using a diagonal join)
Fold your straps lengthwise and press, fold both sides in to the middle.
Top stitch both sides close to edges to seal
Attach your handles to outside of bag approximately 2" in from sides, making sure you don't twist them.
Sew them down approx 3/4" from edge
Turn inside of bag inside out, place outside of bag into it lining up side seams and raw top edge. Make sure the side of the lining with the pocket is on the opposite side to the pocket on the front of the bag.
Pin in place to hold together ensuring handles are not caught in, and leaving gap for turning (I left a gap between the handles)
Sew around top edge approx 1" from top, leaving gap for turning
Pull bag through opening (grab the handles!)
When your bag is fully turned you can then push the inside back into the outside the right way!
Press top edge ensuring the inside lining does not show on the front, taking special care at the opening.
Top stitch edge of bag close to edge, ensuring you seal both sides of the turning opening together.
Stitch a second row of stitching another 1/4" down.
Press your bag!
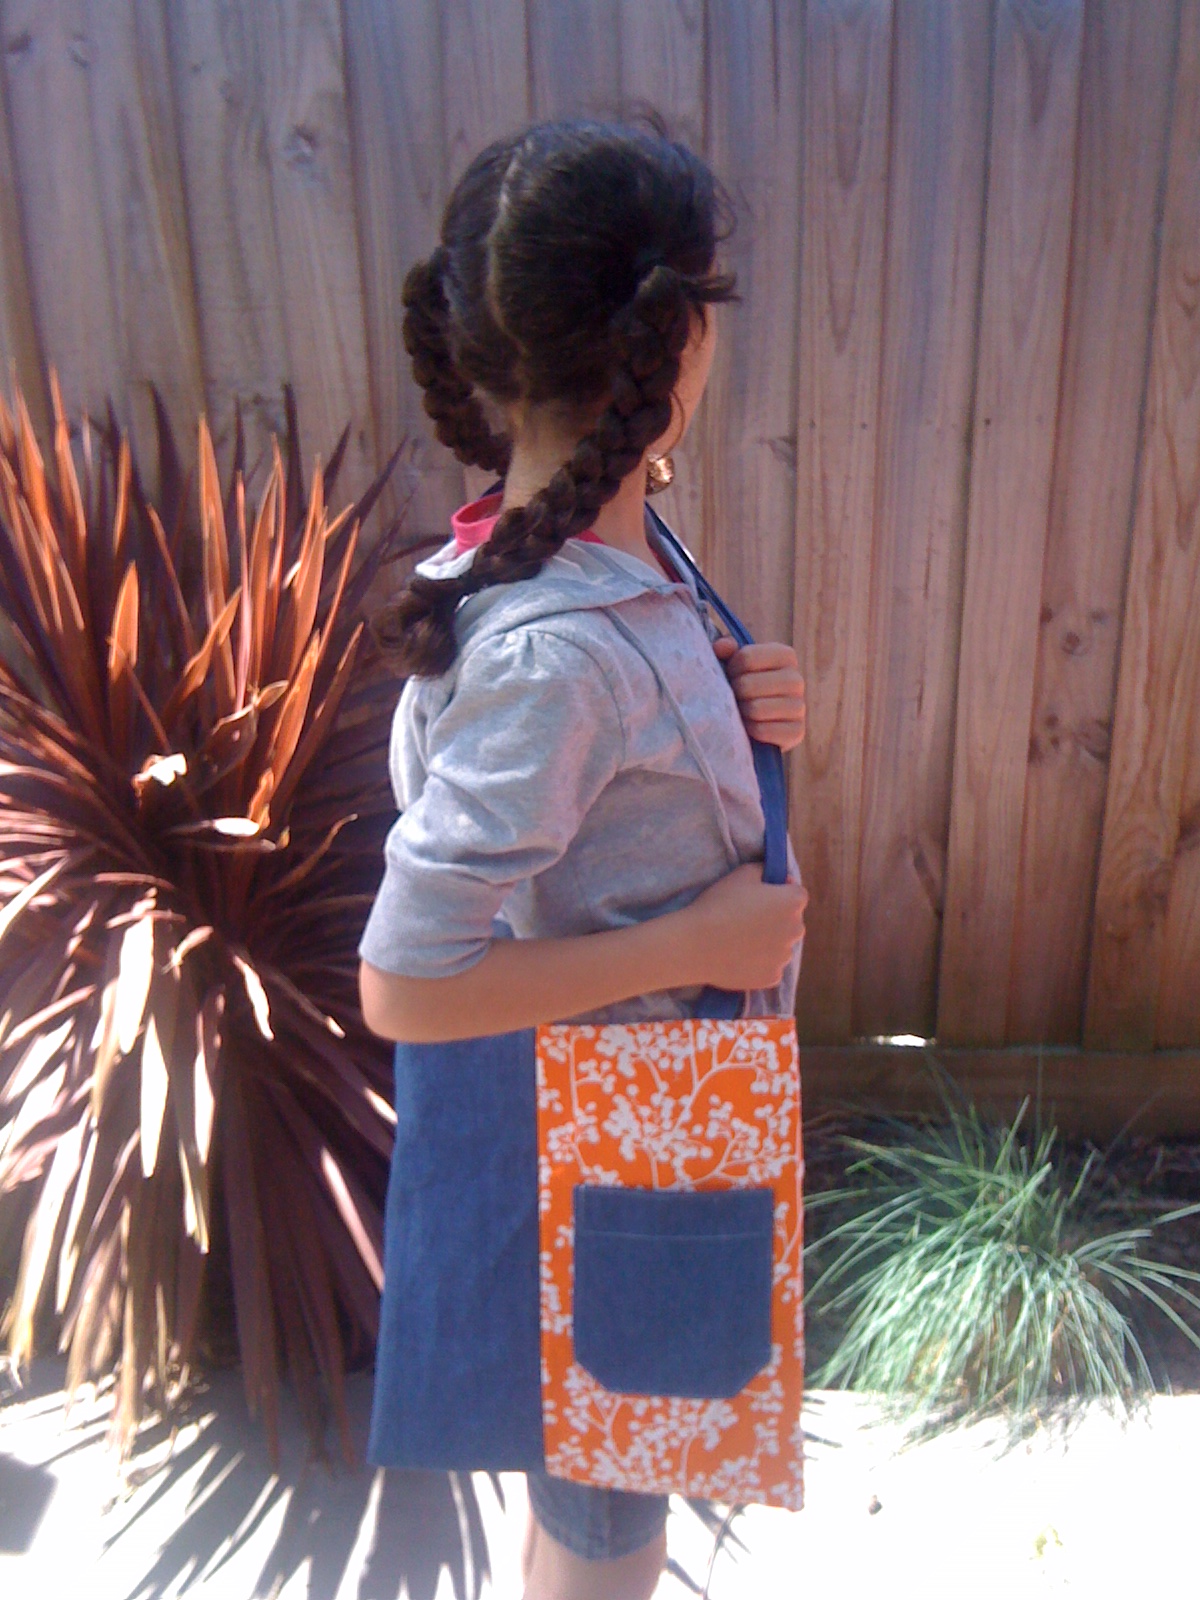
Front!
Back!
Enjoy!
Thanks for visiting! This is a very simple bag so I'm happy for you to link it on your blog, or make to sell, as long as you reference me as the designer! I'd love to see any you make so please post in my flickr group which you can find at
http://www.flickr.com/groups/thecraftycamel/ Hopefully this will be the first of many tutorials... come again!


