
Wednesday, June 5, 2013
Woolly Wednesday!
Tuesday, June 4, 2013
A Giveaway Folks!!!
I'd love to get The Crafty Camel out
there a bit more so I'm having a little giveaway... you can see the
prizes below...!
I will be drawing it next Monday 10th June. So... you can have up to 3 entries...
1. Head over to The Crafty Camel facebook page and "like" the giveaway album (and The Crafty Camel of course!)
2. Become a follower of this blog and let me know in the comments that you have done...
3. Share the facebook album with your friends and invite them to enter the giveaway!
The Crafty Camel isn't just for crafty people... it's for people who enjoy 100% handmade products!
Good luck everyone!!

1st prize... The Crafty Camel "Knitters Dilly Bag - Small"... this unique (yep, no two are the same!) knitters bag is designed for small projects... it fits DPNs and circular needles comfortably... a secure pocket for bits and pieces... a rear plastic pocket on the outside for your pattern... a handle for hands free (you know what I mean!) knitting - great for on the go... a snap on the handle to attach it to your belt... RRP $25...
 2nd prize... Children's satchel... your choice of EITHER boy or girl... internal fabric matches outside pattern... brilliant for kids to carry their treasures in... RRP $24...

I will be drawing it next Monday 10th June. So... you can have up to 3 entries...
1. Head over to The Crafty Camel facebook page and "like" the giveaway album (and The Crafty Camel of course!)
2. Become a follower of this blog and let me know in the comments that you have done...
3. Share the facebook album with your friends and invite them to enter the giveaway!
The Crafty Camel isn't just for crafty people... it's for people who enjoy 100% handmade products!
Good luck everyone!!

1st prize... The Crafty Camel "Knitters Dilly Bag - Small"... this unique (yep, no two are the same!) knitters bag is designed for small projects... it fits DPNs and circular needles comfortably... a secure pocket for bits and pieces... a rear plastic pocket on the outside for your pattern... a handle for hands free (you know what I mean!) knitting - great for on the go... a snap on the handle to attach it to your belt... RRP $25...


3rd prize... a set of 3 vintage look bibs... large, towelling lined... RRP $20 for a set of 3... (for some off reason this picture will not rotate to front on...)
Monday, June 3, 2013
The Glenbrae Aprons...
My daughter has been attending Highland dancing lessons for a while now. Last week her troupe were performing at a Biggest Morning Tea fundraiser for cancer research at a local fabric store. As part of the fundraiser the public were invited to make aprons and donate them to charity. I decided the night before (as you do!) to get a little creative! I rummaged around in my stash, found some tartan, a spot of black fabric, some buttons, some lace... and after a little research the Glenbrae aprons were born! Oh boy, I really should get sleep occasionally!

Pretty pleased with how they turned out, especially the details on the male version... authentic Highland cow hide sporran of course!!! The buttons I found were perfect and the buckle! So... just to make you smile... here's a picture of my dad and I modelling them! My daughter was giving instructions... clearly my dad is more willing to go a little crazy than I am!!!We are authentic 100% Scots so it is a good photo in many ways!


Pretty pleased with how they turned out, especially the details on the male version... authentic Highland cow hide sporran of course!!! The buttons I found were perfect and the buckle! So... just to make you smile... here's a picture of my dad and I modelling them! My daughter was giving instructions... clearly my dad is more willing to go a little crazy than I am!!!We are authentic 100% Scots so it is a good photo in many ways!

So anyway, I ended up winning first prize in the modern apron section! A decent prize too!
Since I had the aprons for less than 24 hours I got to missing them... they were so much fun to make... so I went and bought them back!!! Dad is pretty chuffed he's getting his back... I think he was a little sad to part with it in the first place!!!
Next plan is to make a pattern to sell... I couldn't find a pattern for anything similar on the internet... stay tuned...
Tuesday, May 28, 2013
Odds and ends...
Recently I seem to have been inundated with little and not so little sewing jobs for other people... some pay in $$$$, some in lunches or coffees out, some are just for love... I'd like to be getting more of my own sewing done... and here and there I've managed to sneak in the odd quirky project or two...
 Tonight I decided to use up some of my flannalette scraps and make hand warmers... I double lined them and when the heat is warmed up they really do feel rather toasty! A 5" square and a couple of layers each side (I used plain leftovers inside) and press the opening in and topstitch and you're good to go...!!! Only 30 seconds in the microwave for 1/2 a cup of wheat... no need to burn the house down... the warmth won't last!!! My favourite are the Clone Wars ones!!! I'll show you some more projects soon...
... when I've finished putting a zip in a jacket for a friend...

... when I've finished putting a zip in a jacket for a friend...
Friday, May 10, 2013
My new logo!

Wednesday, January 23, 2013

Sunday, January 20, 2013
Welcome to 2013!
This year I've decided to embark on a (probably rather necessary!) personal challenge... finish 52 UFOs... and start as few new projects as I can possibly manage! 52 UFOs you ask!?!?!? Is that even possible!? Well... I might have a wee bit of a problem with starting things... and a bit of a bigger problem with finishing things! I'm probably hyperactive or something (undiagnosed naturally!) or maybe just over enthusiastic! I do get most of my projects finished eventually... just it's getting to the point of totally ridiculous... and I can hardly walk around my studio as it is... so to keep myself accountable I'll be posting pictures of all 52... starting today... Apologies I still need to work on perfecting my photos!
1. Rainbow scarf (8ply mohair) Free pattern... dead easy... super quick... http://www.ravelry.com/patterns/library/jennifers-scarf Taken me about 2 years to finish!

2. Purple and green wide rib scarf (Cleckheaton Tapestry) Pattern from "Handknits to Wrap and Adorn" by Cleckheaton. Taken me about a year to finish! Don't much like rib. It seemed to go on... and on... and on...!!!


3. Hot water bottle cover for DD2... who is super excited... Pattern from "Handknits to Wrap and Adorn" by Cleckheaton. The whole family has one now! Taken me a few months to finish (just now that winter is over!)

4. Chevron scarf (Noro Kureyon). Totally LOVED knitting this scarf! http://www.ravelry.com/patterns/library/chevron-scarf-10 Might be a teensy bit addicted to the colour changes in Noro! Divine pattern... lightly felted it when finished and couldn't be happier!


5. Purple and red quilt! This is probably my oldest UFO! It's about 15 years in the making! It's from a Patchwork and Quilting magazine from way back when it started (1996 annual)... Judy Hooworth... called Skewed Squares... always loved her use of colour! Still love this quilt... and the crazy quilting on it! Can't tell you how relieved I am to get this finished at last!


6. ABCs of Parenting by Lizzie Kate... started this about 6 months ago and ALMOST finished it within a month... but got distracted just before I finished!!! A common problem!!! lol! Now to get it to the framer!

7. Welcome home cross-stitch... another oldie... started this sometime pre 2000... was never really happy with the colours... so different from the original photo... not probably a design I'd pick these days... and the variety of colours in the garden beds almost made me insane! Another one off to the framers!


8. Long overdue ironing board re-cover! Found myself unthinkingly ripping it apart to make a pattern about 11pm the other night... probably the slowest start but the quickest finish! Not that my husband even noticed when he came to iron his shirt and found I'd done one for him!!! Men!

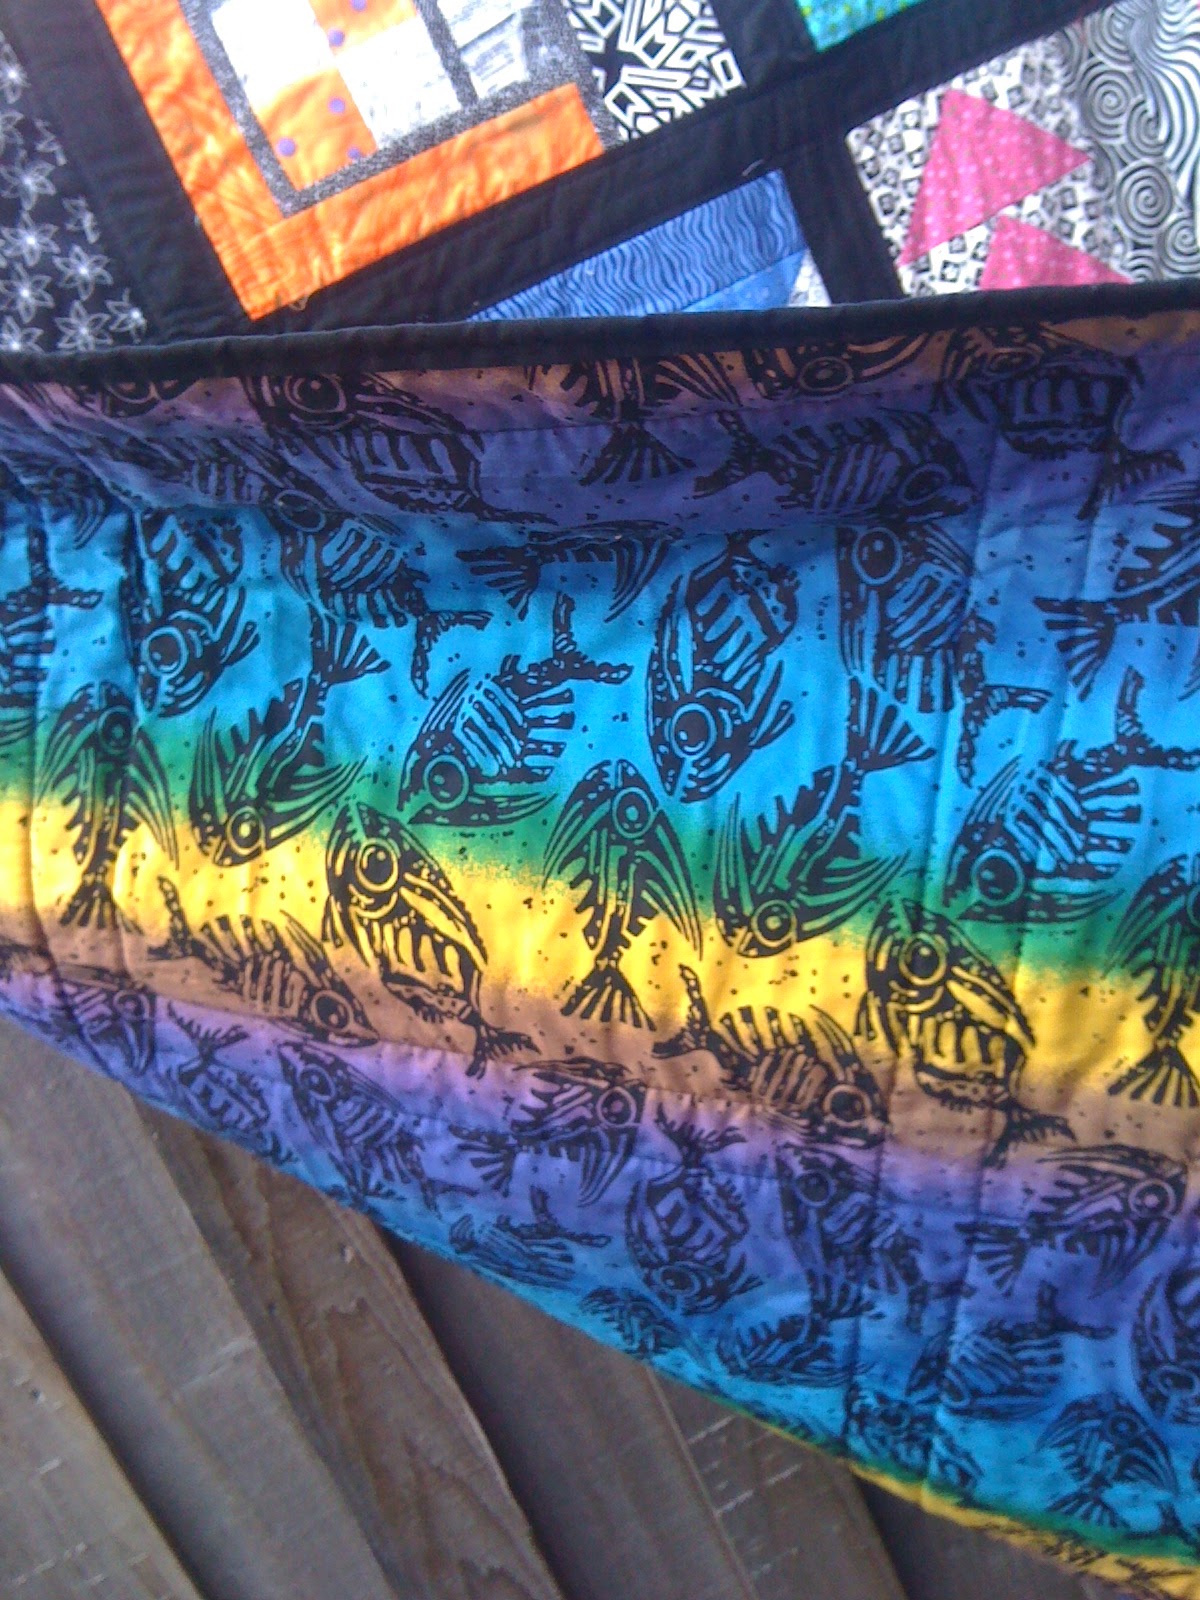
9. Uber quilt festival quilt... made from scraps! Want to make one of your own? I was going gung-go until the last 2 blocks... they took me a year! lol! http://bluenickelstudios.com/?p=3183


So... that's my progress so far! Tracking pretty nicely!
1. Rainbow scarf (8ply mohair) Free pattern... dead easy... super quick... http://www.ravelry.com/patterns/library/jennifers-scarf Taken me about 2 years to finish!

2. Purple and green wide rib scarf (Cleckheaton Tapestry) Pattern from "Handknits to Wrap and Adorn" by Cleckheaton. Taken me about a year to finish! Don't much like rib. It seemed to go on... and on... and on...!!!


3. Hot water bottle cover for DD2... who is super excited... Pattern from "Handknits to Wrap and Adorn" by Cleckheaton. The whole family has one now! Taken me a few months to finish (just now that winter is over!)

4. Chevron scarf (Noro Kureyon). Totally LOVED knitting this scarf! http://www.ravelry.com/patterns/library/chevron-scarf-10 Might be a teensy bit addicted to the colour changes in Noro! Divine pattern... lightly felted it when finished and couldn't be happier!


5. Purple and red quilt! This is probably my oldest UFO! It's about 15 years in the making! It's from a Patchwork and Quilting magazine from way back when it started (1996 annual)... Judy Hooworth... called Skewed Squares... always loved her use of colour! Still love this quilt... and the crazy quilting on it! Can't tell you how relieved I am to get this finished at last!


6. ABCs of Parenting by Lizzie Kate... started this about 6 months ago and ALMOST finished it within a month... but got distracted just before I finished!!! A common problem!!! lol! Now to get it to the framer!

7. Welcome home cross-stitch... another oldie... started this sometime pre 2000... was never really happy with the colours... so different from the original photo... not probably a design I'd pick these days... and the variety of colours in the garden beds almost made me insane! Another one off to the framers!


8. Long overdue ironing board re-cover! Found myself unthinkingly ripping it apart to make a pattern about 11pm the other night... probably the slowest start but the quickest finish! Not that my husband even noticed when he came to iron his shirt and found I'd done one for him!!! Men!

9. Uber quilt festival quilt... made from scraps! Want to make one of your own? I was going gung-go until the last 2 blocks... they took me a year! lol! http://bluenickelstudios.com/?p=3183


So... that's my progress so far! Tracking pretty nicely!
Subscribe to:
Posts (Atom)